Testing Your Thriftly API
Now that you’ve examined our example application and Thriftly APIs, or built your own application and APIs, it’s time to test them out. To do so, run your application from your code editor of choice, using your editor’s Run button. When you do, the Thriftly Developer window appears.
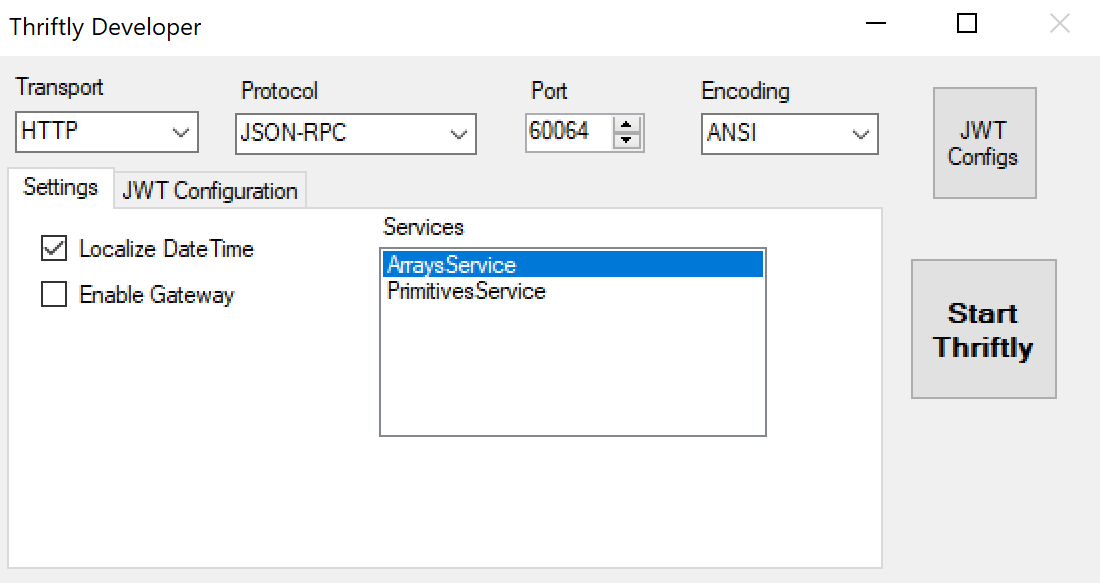
Within the Thriftly Developer window, you have a number of options. We’ll discuss most of those options here, but save some (such as JWT Configuration) for the Thriftly Developer: Beyond the Basics section.
For now, let’s examine some of the fields you’ll use to perform basic API testing:

Transport: In the Transport field, you select the transport Thriftly serves your API over. In most cases, you’ll want to test your API using the HTTP transport, since that’s the transport you (and other developers) will most commonly use to make requests of your API.
If you want to use your API as a gRPC service, you must select GRPC in this field (and PROTOBUF in the Protocol field).
Protocol: In the Protocol field, you select the protocol Thriftly uses when serving your API. Don’t worry about this choice too much, though, as you can change protocols on-the-fly within Thriftly’s API testing interface. Thriftly supports serving APIs using a variety of protocols (the exact assortment of which you can see by selecting the dropdown in the Protocol field).
If you want to use your API as a gRPC service, you must select PROTOBUF in this field (and GRPC in the Protocol field).
Port: If you plan to perform your API testing locally (rather than testing using the Thriftly Server and Gateway), you must select a port through which to perform your testing. In most cases, you can leave this field set to the Thriftly-assigned default.
Encoding: In the Encoding field, you can select how Thriftly encodes API requests and responses. You can select from UTF-8 encoding (which we recommend you use in most cases) or ANSI encoding (which you must use if you are testing APIs created from a DataFlex application).
Now let’s look at some of the fields within the Settings form, the last fields you need to consider before you begin testing your API.
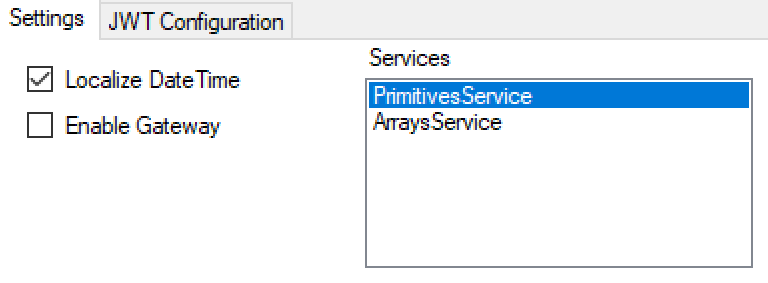
Localize DateTime: In most cases, we recommend you leave the Localize DateTime checkbox selected, to perform your API testing using localized request and response timestamps. This alleviates potential confusion if, for example, your API receives a request from an application located outside its current time zone. However, in some specialized testing scenarios, it might be appropriate to clear this checkbox, so you can record the non-localized timestamps associated with API requests and responses.
Enable Gateway: If you want to test your API using only your local machine, you do not need to select this checkbox. However, if you want to test how your API performs when served over our Thriftly Server and Gateways, you must select this checkbox. After you do, a couple more fields appear:
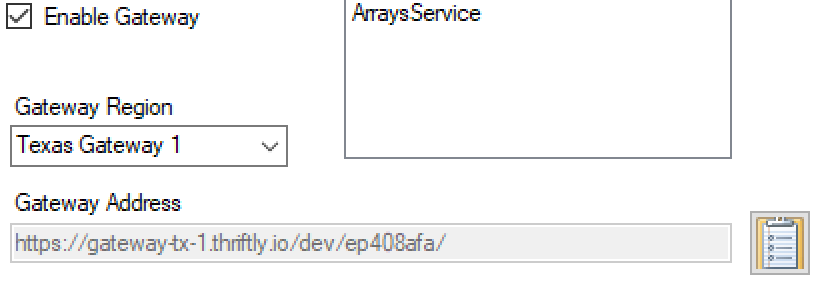
Gateway Region: In this field, you select the Thriftly Gateway you want to use to test your API. Generally, we recommend selecting the gateway that’s located geographically closest to your machine, as doing so provides the best API performance.
Gateway Address: This is the URL address of your API’s endpoint, which you may want to copy for further testing outside of Thriftly.
Services: This field contains a list of the Thriftly services included in your application, each of which will be testable as a separate Thriftly API. For example, our PropertyTracker example application includes three services, LocationService, ItemService, and ProductDirectoryService. Each of those services translates into a separate Thriftly API .
The most important button in the Thriftly Developer window, however, is the Start Thriftly button. When you select the Start Thriftly button, your API’s endpoint appears in your web browser (either as an HTML list, if you have not enabled the Thriftly Gateway, or as a web page, if you have).
With the Enable Gateway checkbox and a Gateway Region selected, select the Start Thriftly button.
A page similar to the page below appears in your web browser.
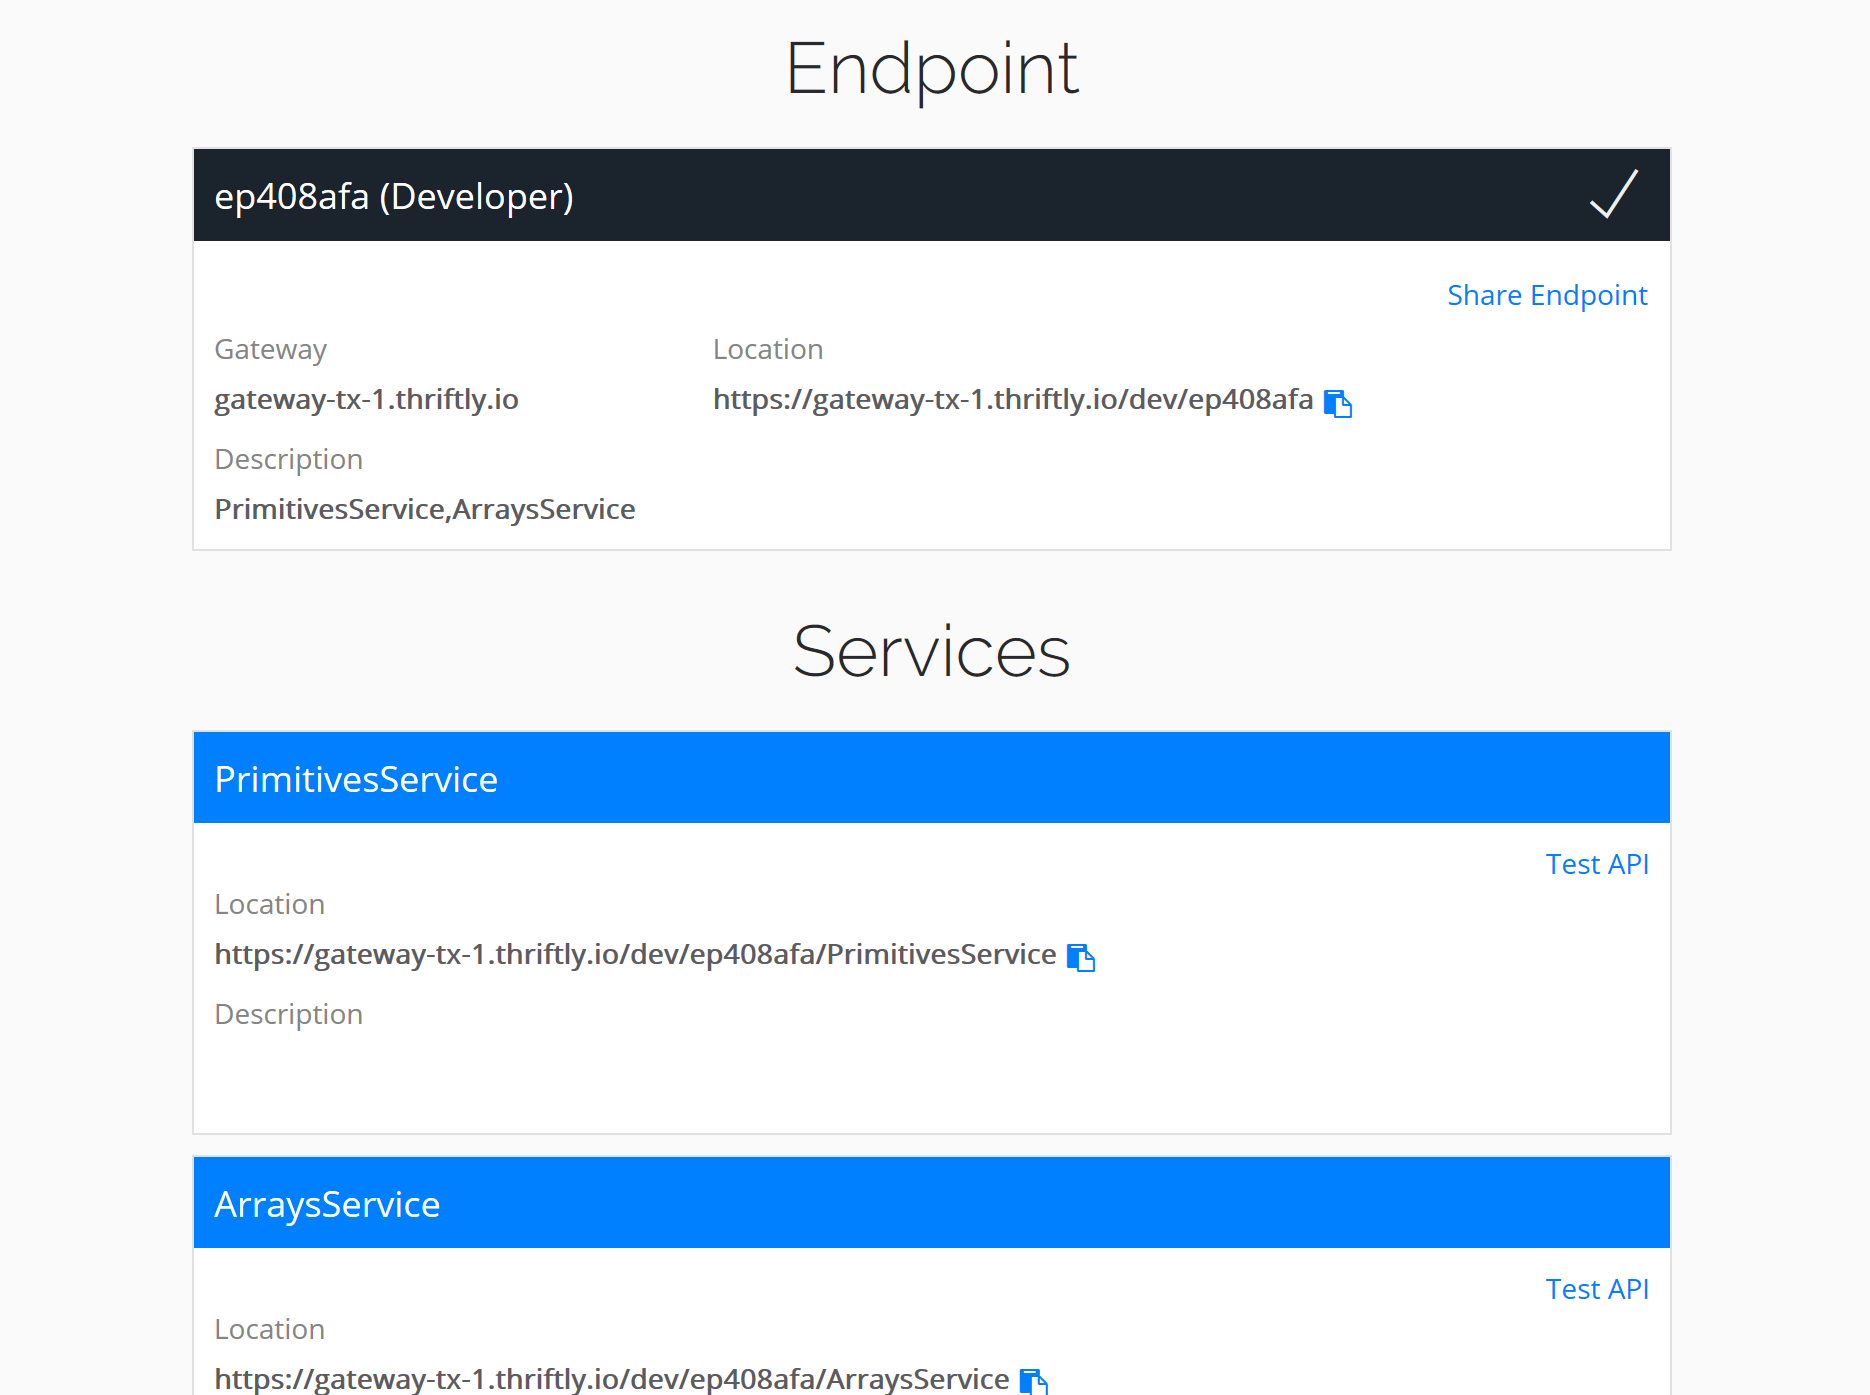
Some of the same information that appeared in the Thriftly Developer window also appears here. Additionally, each of your services appears, along with information on its location and description, as well as a link that says Test API. Select the Test API link next to one of your services, and let’s get testing.
After you select the Test API link, the Thriftly API testing interface appears, queued up to start testing your API:
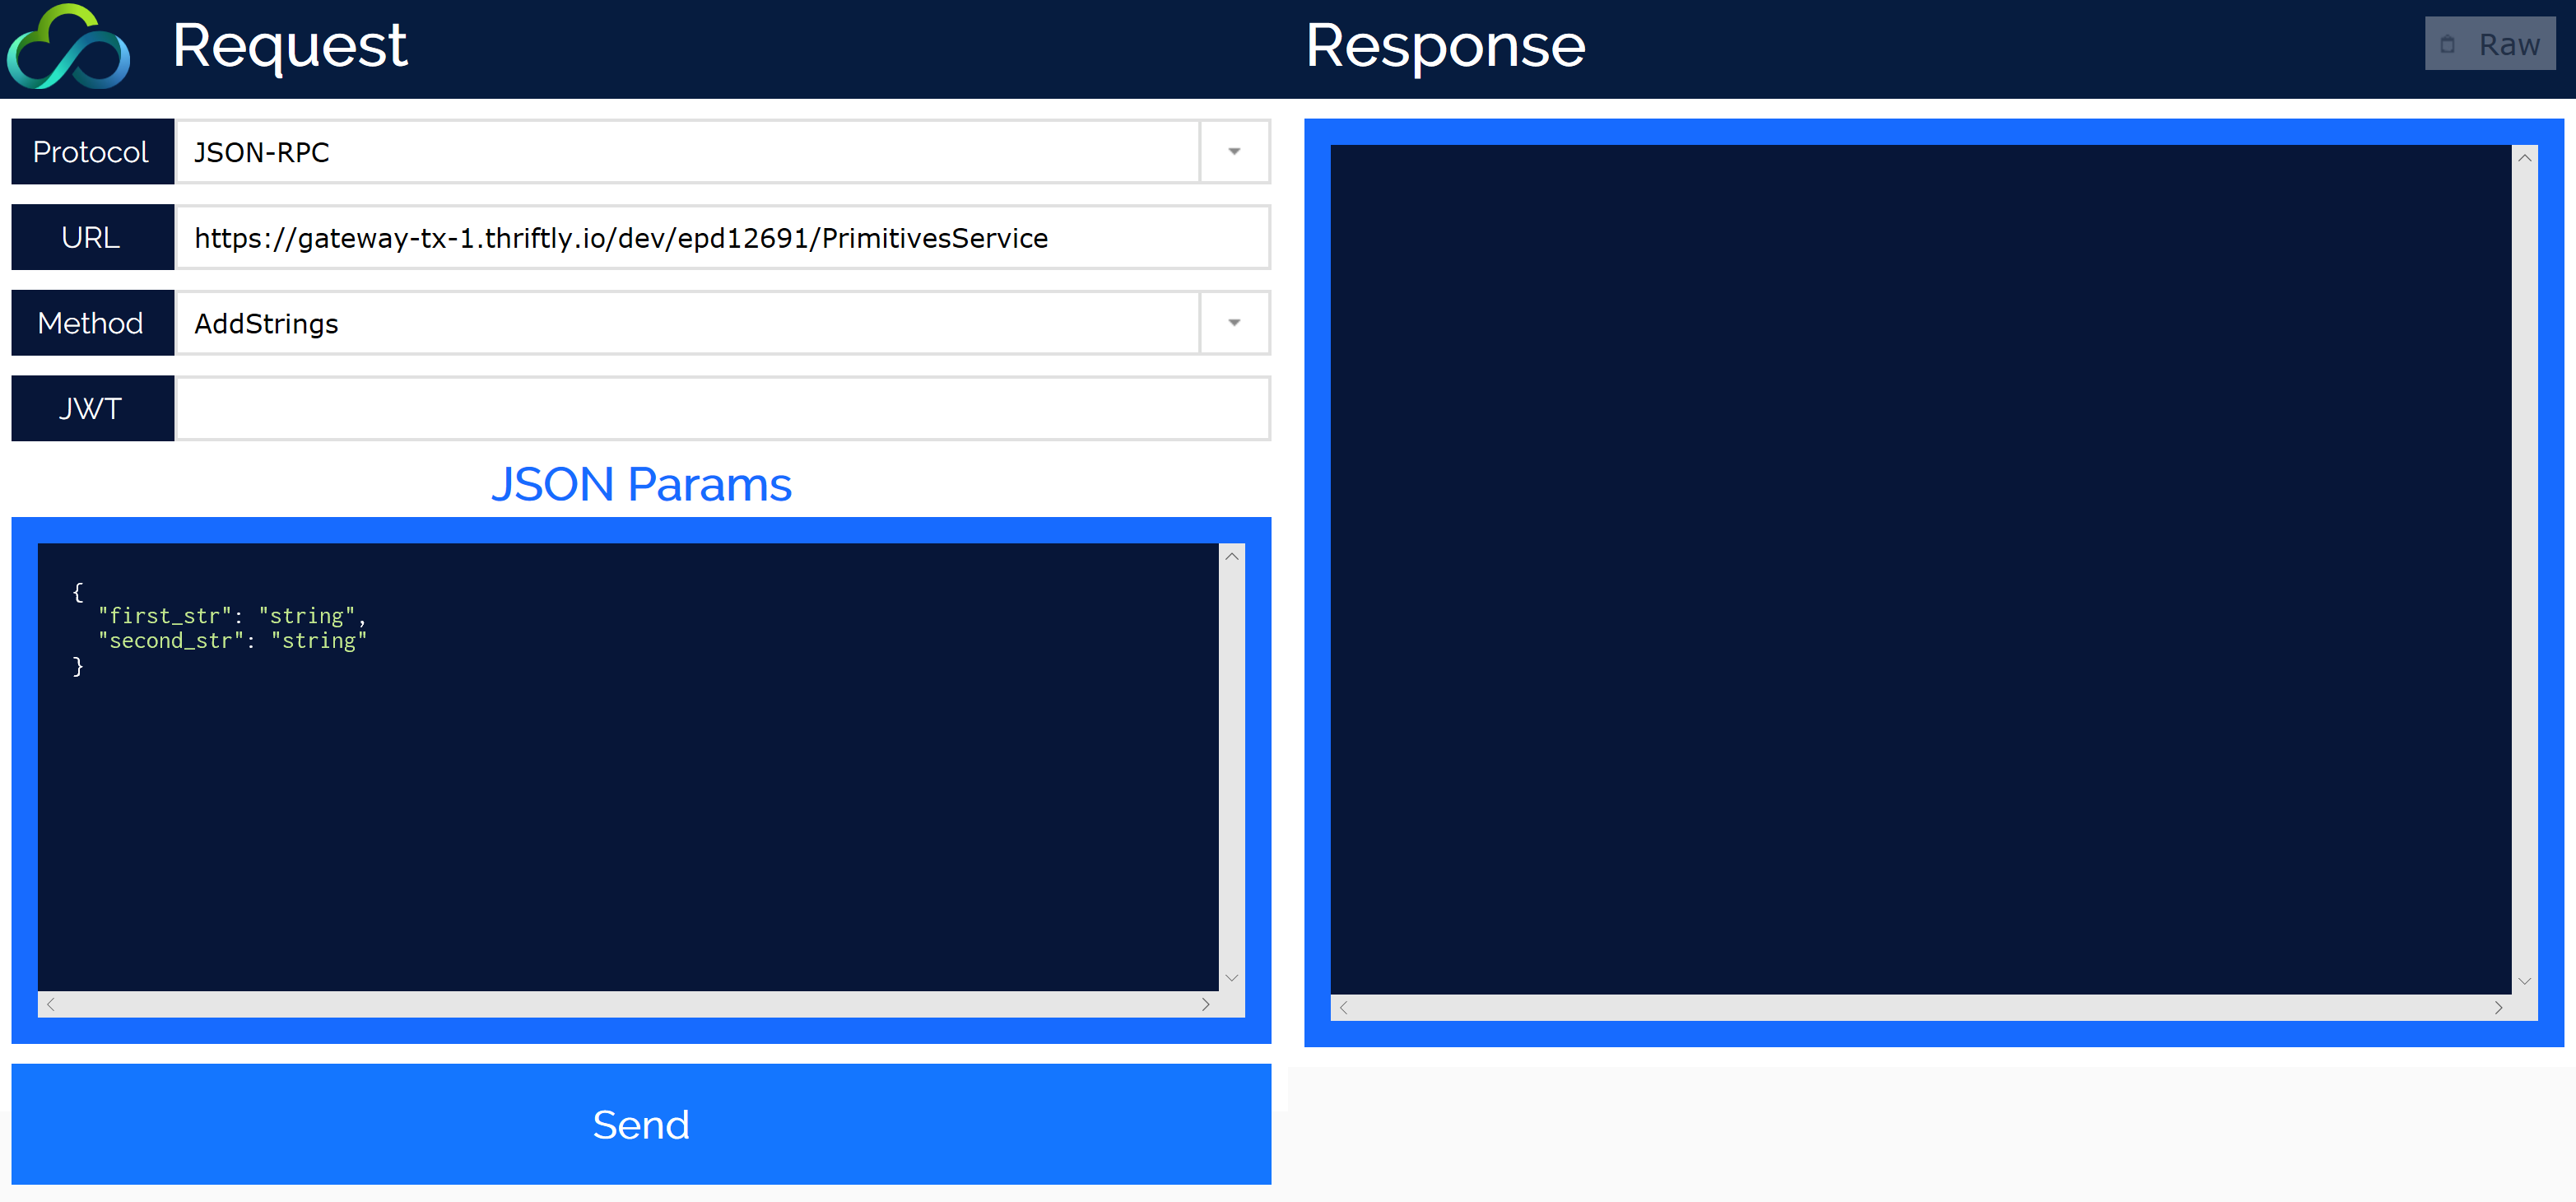
Here, you can select:
The protocol to use for testing, using the Protocol field.
The method (function) to test, using the Method field.
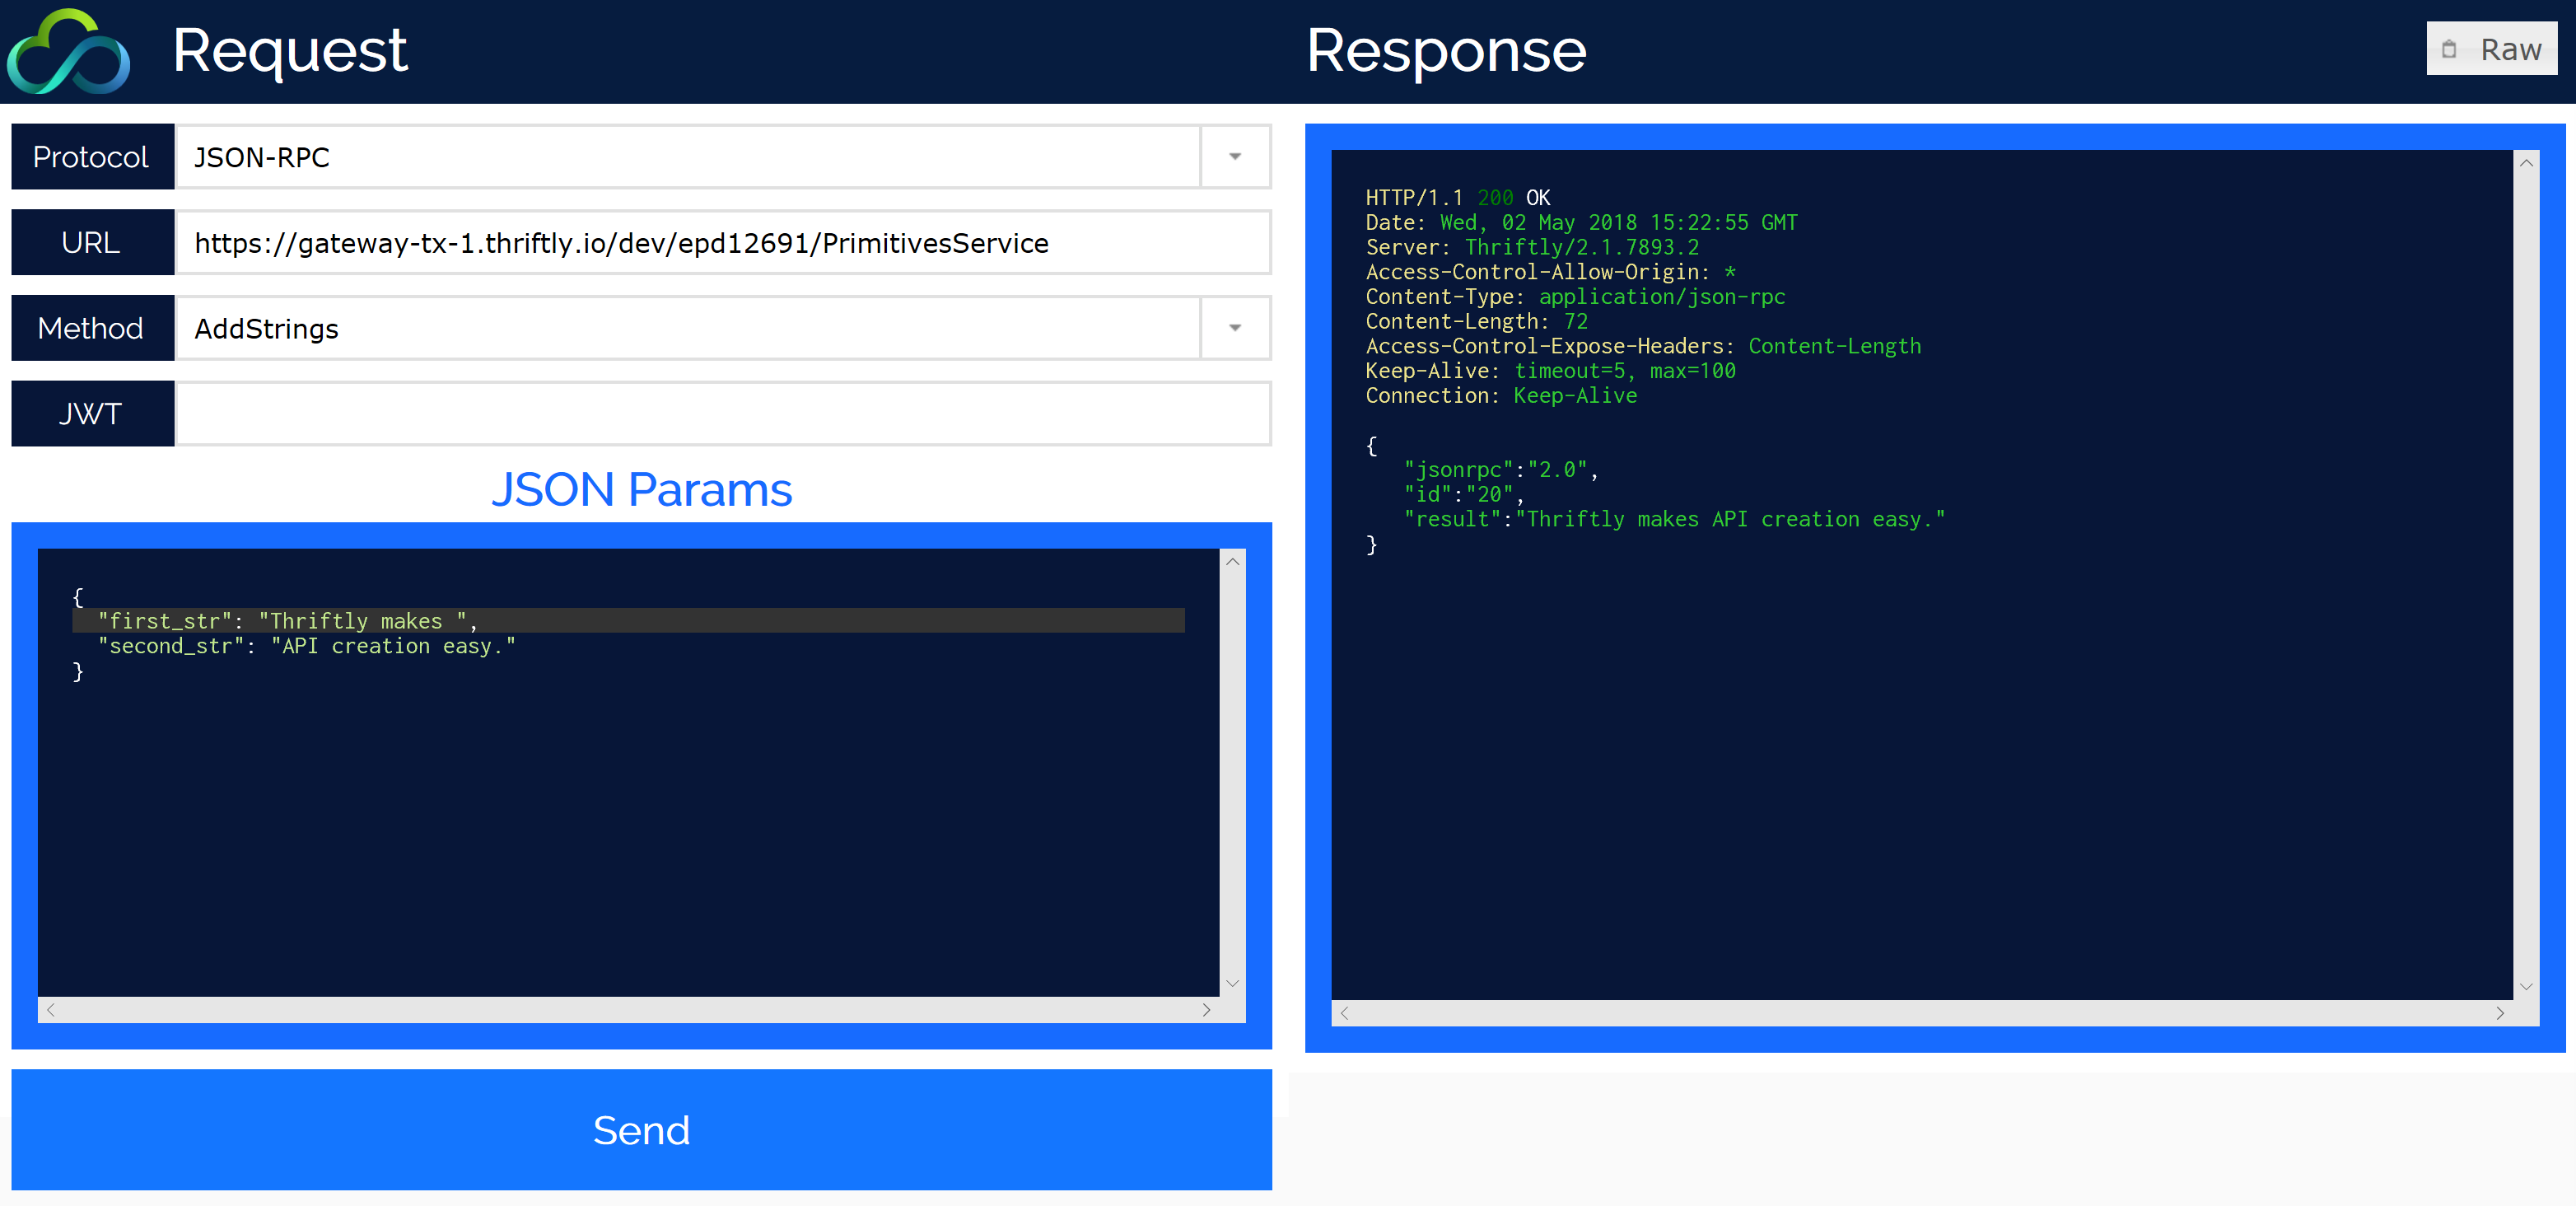
After you’ve selected a protocol and a method, enter a valid test call in the Params field and select Send to make a call to your API. If you made your call correctly, you should get a valid response in return.
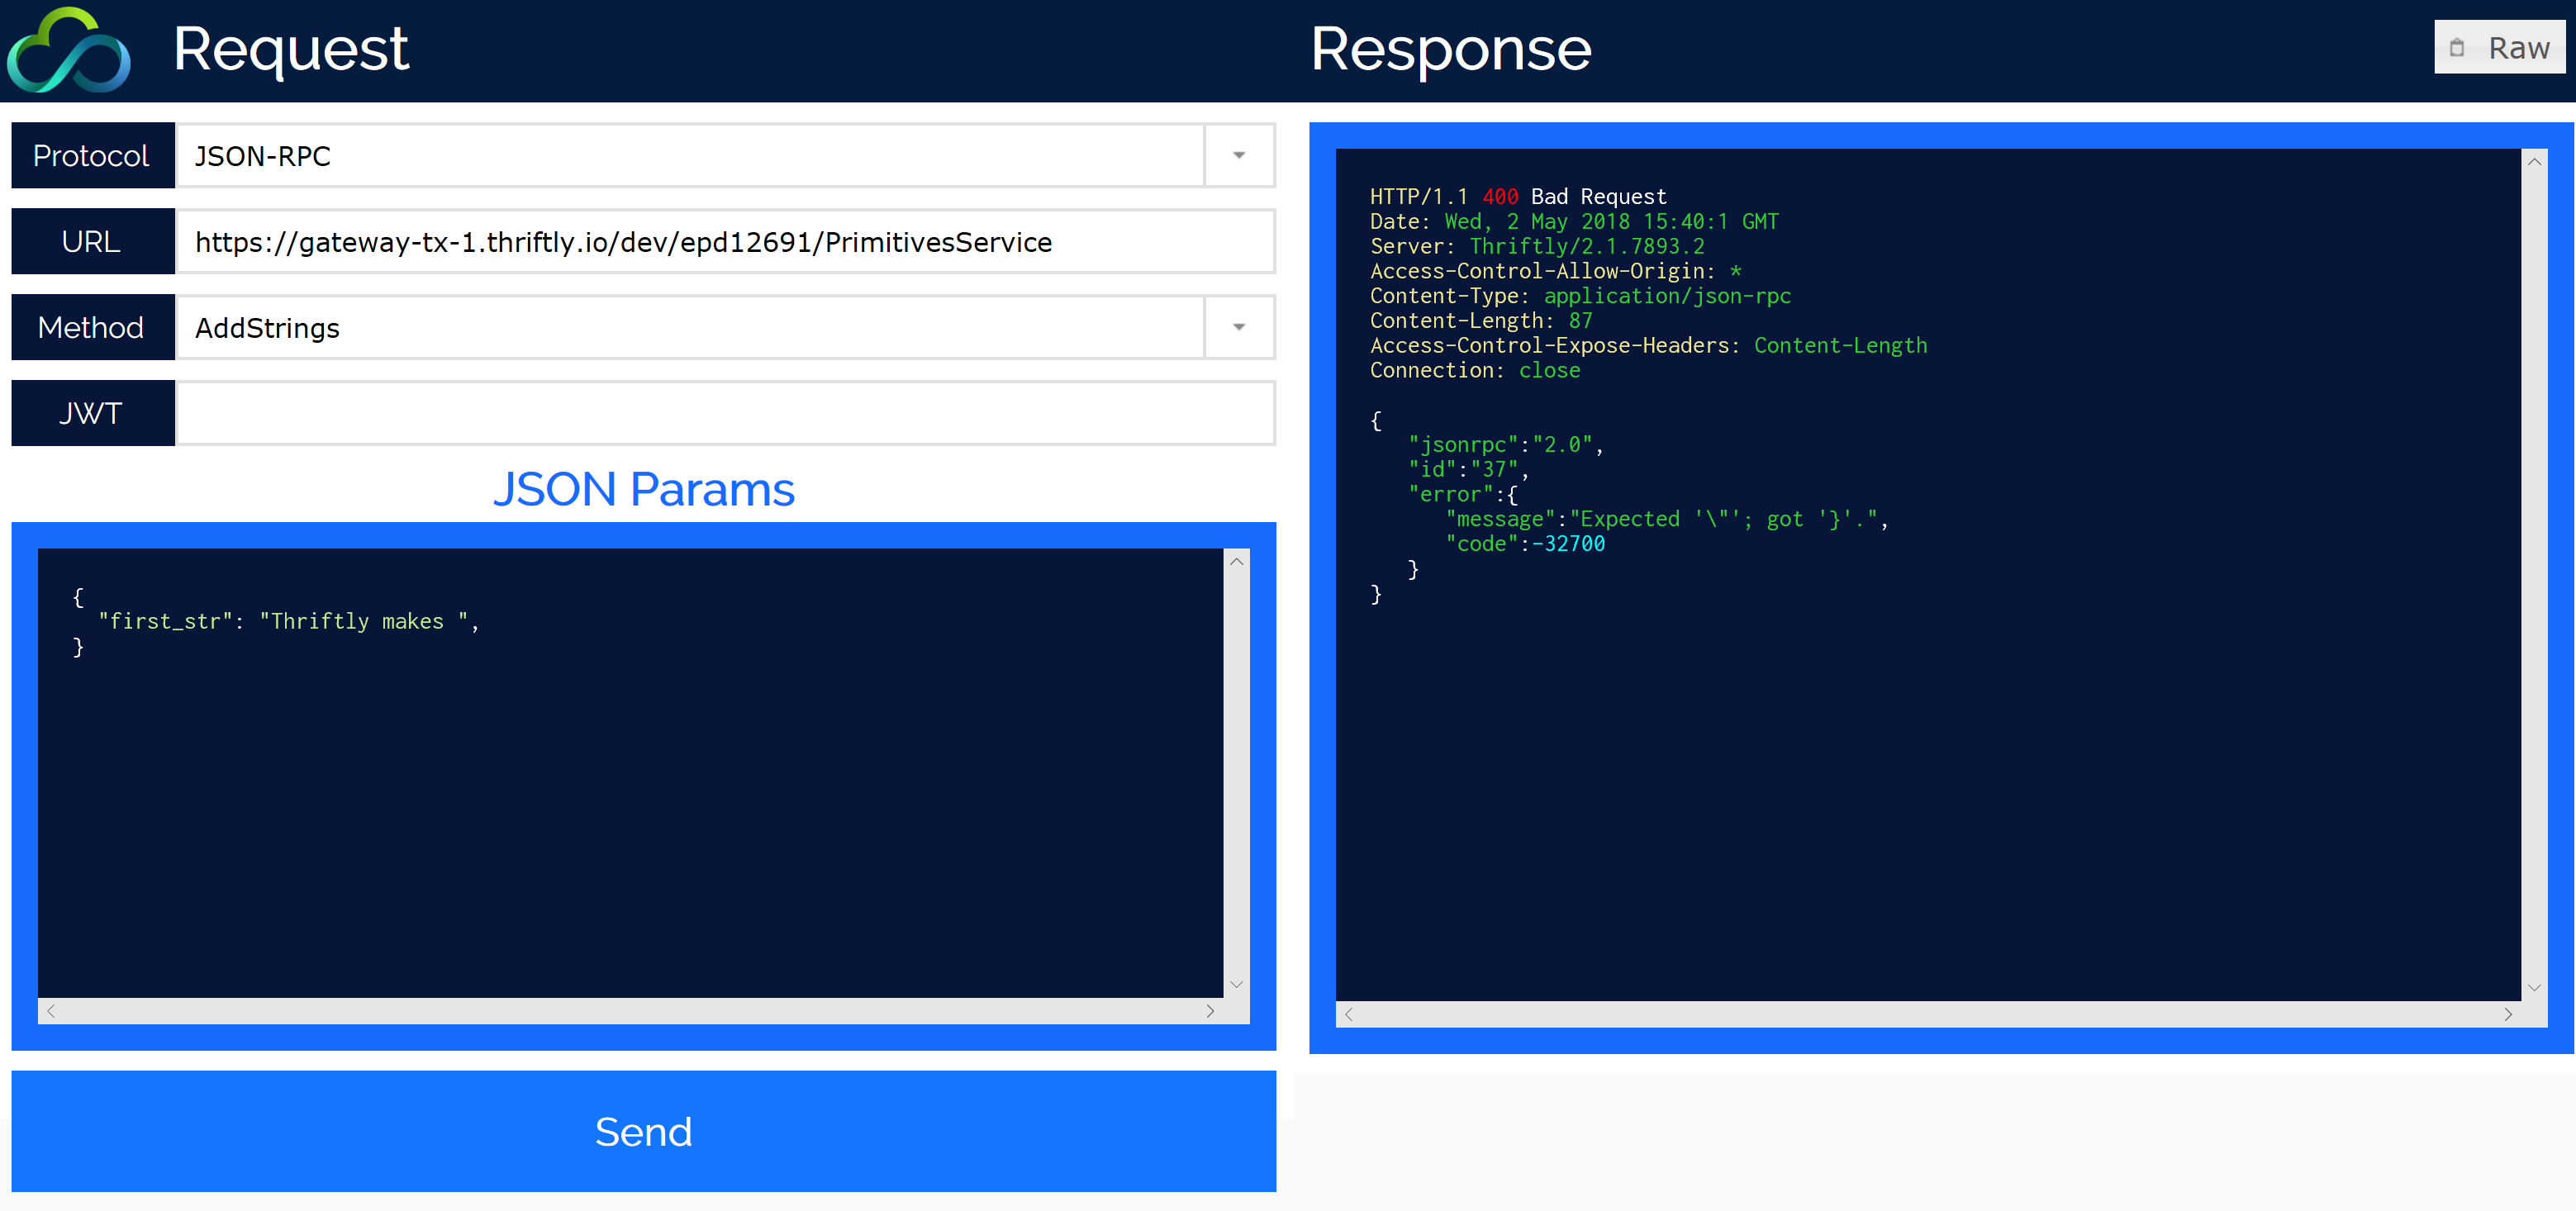
And if you didn’t, you should get an error message.
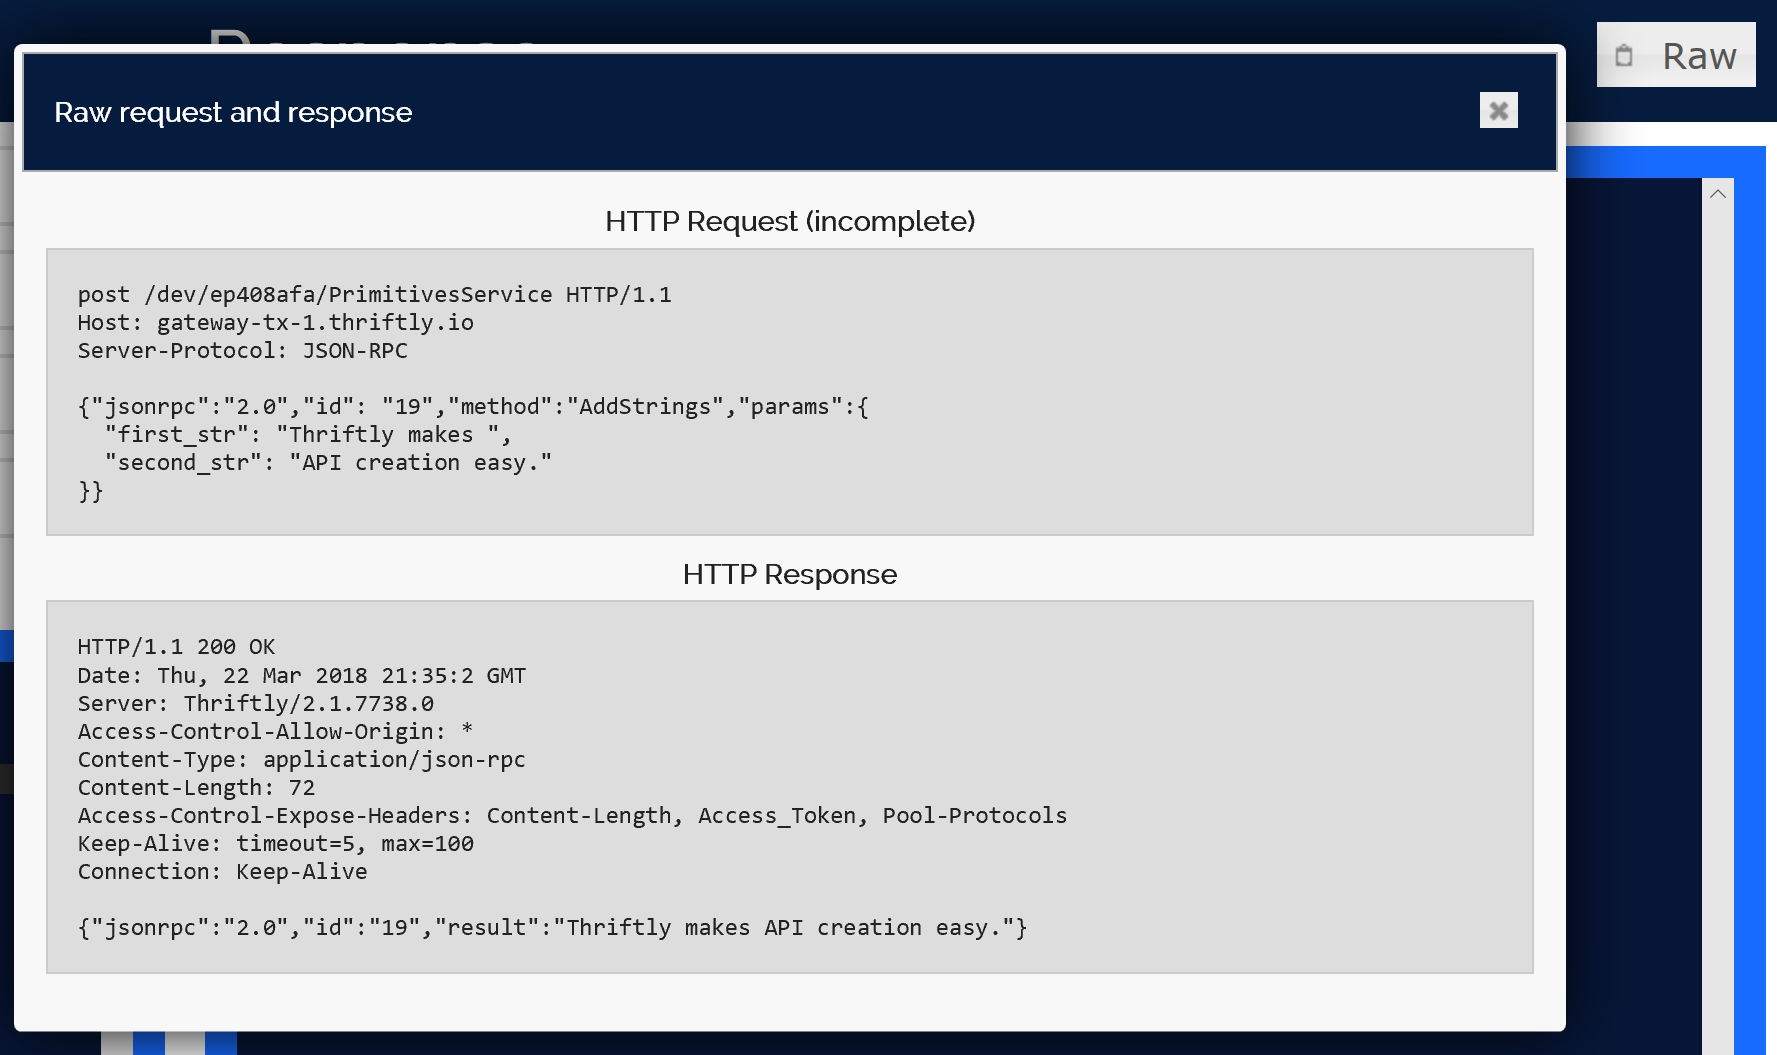
You can also use the Raw button found in the upper right-hand corner of the page to view additional details about your requests and responses.
Now that you understand how to test your Thriftly APIs, you should:
Go back to the applicable section in the Creating Thriftly APIs from Your Application topic, if you’re still in the middle of examining our example APIs or creating your own.
Click over to either the Thriftly Developer: Beyond the Basics or Language-specific Developers’ References sections, to learn about advanced features and options you can take advantage of within your Thriftly APIs.